Assembly tools increase safety
Successful manufacturers and industrial leaders understand the importance of safety.
Maintaining a safe environment through company culture and attention to detail is critical to the long-term success of your organization. It reduces risk and, more importantly, ensures employees are free from harm. It’s also the right thing to do.
There are numerous ways to enhance safety. Company leaders can appropriately organize a facility, decrease the need for climbing ladders, automate dangerous tasks, and remove safety barriers. Training, of course, is one of the most important tools for maintaining a safe working environment. (For example, many companies provide training for dealing with silica dust.)
The correct assembly tools also improve safety. It’s also critical to ensure these electric, pneumatic, and battery-operated tools are up-to-date and maintained.
Safety first: a legal and financial argument
First and foremost, you should focus on safety because it’s the right thing to do. As a manufacturing manager, leader, or owner, it’s your moral and ethical responsibility to create a safe working environment. This means a physical environment that is as safe as possible and a company culture that relentlessly focuses on safety.

It’s also the law, with various legal implications for companies that do not meet various safety standards. Not meeting these statutes can incur fines, injury claims, and more. As the claims and fines go to court, the public is aware and your brand may suffer.
Safety also brings financial benefits.
According to the National Safety Council, the average cost for all workers’ injury claims in 2020-2021 was $41,757. The most expensive type of claims were related to motor vehicles; these had an average cost above $89,000. The least expensive was a cut or scrape, which still cost around $24,000. Strains, which can be reduced by assembly tools, cost an average of $36,200.
The exact savings from a safety investment can be extremely difficult to calculate. The general wisdom is that for every dollar you spend in safety, you’ll realize about $2 in savings. If that holds, investing $50,000 in safety equipment would save $100,000. Even half that number would be a solid ROI.
So there are financial motivations, as well as legal and ethical reasons, to invest in safety equipment. Some of this investment, at least for manufacturers, will be in high-quality assembly tools that reduce issues while increasing productivity.
How assembly tools increase safety for your team
Reduce repetitive strain
Employees in manufacturing are subject to regular physical demands. But it’s not a short-term, intense burst of physical activity; it’s steady, repetitive motion. Performing the same task repeatedly will test nerves, muscles, and joints, all of which could become damaged.
Assembly tools, however, can reduce repetitive motions and create an easier overall process. They can eliminate repetitive work that strains muscles and creates injury, boosting productivity while enhancing workplace safety.
Decrease mental fatigue to reduce lapses in attention
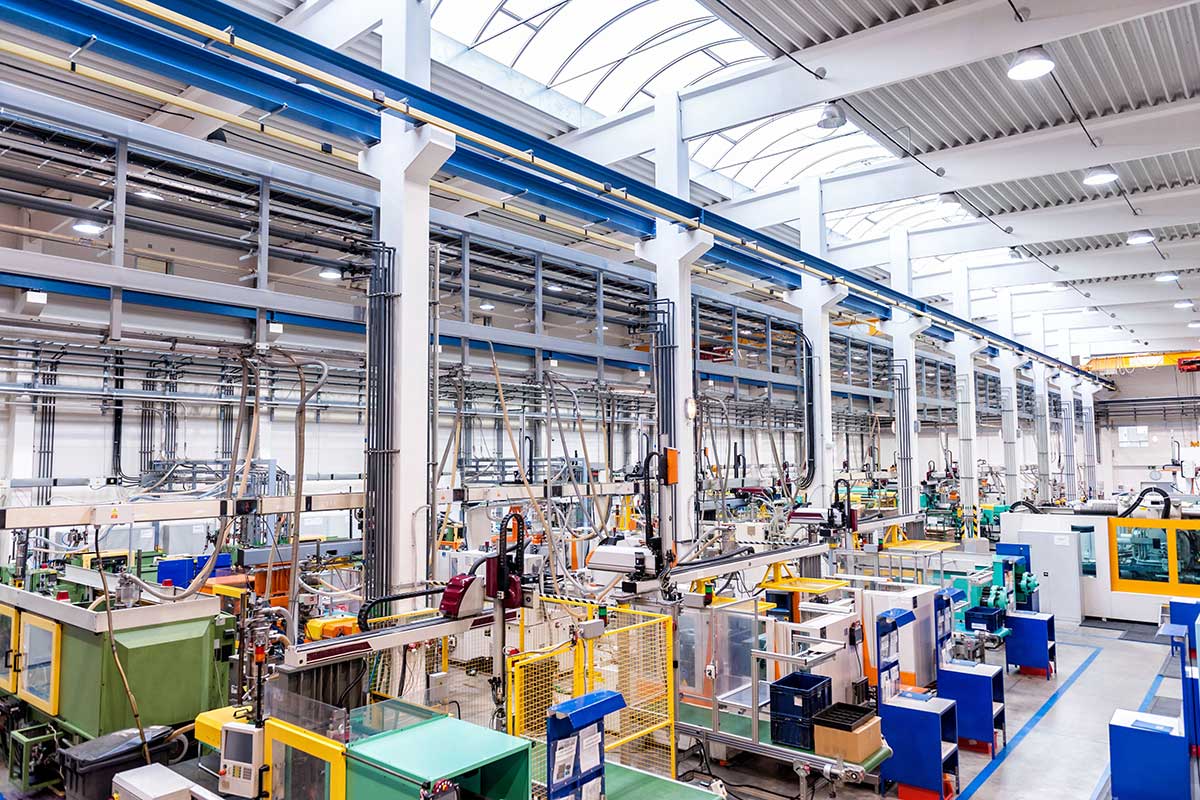
Repetitive industrial tasks will not only wear out muscles, they can also cause a mind to become fatigued or inattentive. According to OSHA, fatigued workers may lack the “energy to do their jobs safely or effectively.” They can also have difficulty paying attention or take longer to react. They could even take more risks, increasing the chance of injuries.
Reliable assembly tools could reduce the need for repetitive tasks and increase overall safety by helping workers stay sharp, alert, and mentally engaged.
Use automatic shutoffs
High-quality assembly tools have various safety features built into their design. These features ensure that dangerous activity is avoided and people are protected throughout a long workday.
For instance, some tools’ automatic shutoffs activate after a variety of triggers. If an unsafe use or mistake is detected, the tool will automatically shut off to prevent potential injury.
Safety interlocks
Another assembly tool feature that can increase safety is an interlock. An interlock is a device or system that prevents a user from making an inappropriate or unsafe maneuver with a tool. If someone uses a tool inappropriately, the interlock adjusts the system to a safer state.
For safety reasons, interlocks prevent a user from making unsafe actions or prevent use if an unsafe condition is detected. For example, some assembly tools have guards that keep users from touching a moving component, such as a cutter or grinder. An interlock system will make the tool nonoperational if this guard is removed.
Reduce or eliminate “torque reaction”
Torque reaction is related to repetitive-motion strains. Essentially, when an operator is running a screwing, bolting, or twisting tool of some type, they use their muscles to absorb the heavy torquing and twisting motion. This creates fatigue and weakness, especially when absorbing the torque is a regular part of the day.
Fortunately, torque reaction arms are available. These assembly tools, which can be used in various manufacturing environments, take the tool weight and torque out of the operator’s hands. This reduces wear and tear on the operator, enhances production quality, saves time, and reduces costs from downtime and tool use.
Equipment age matters and so does maintenance
Finally, we’ll leave you with a simple reminder: the age of your assembly tools and equipment matters. There is a connection between the age of tools and the increased potential for injury. Occupational hazard studies have found that the age of equipment can create a higher rate of injury. Much of this is connected to modern features, and many of the studies don’t involve industrial equipment, but it still suggests that when you have new, up-to-date equipment, you are more likely to see fewer injuries.
Better, newer equipment leads to higher safety or equipment that is maintained and re-calibrated from a certified lab. So if you have older equipment and items that need to be updated, contact an industrial professional today for updated equipment.
Safety equipment and gear from professionals
Safety is the most important aspect of properly managing and operating a facility. When you are dedicated to safety, your plant will be more profitable and productive. You’ll also be a more attractive place to work, an essential factor when expanding your team is a high priority.
Get the latest advancements, best brands, and product variety in industrial safety equipment and safety supplies. Plus, turn to us for refurbished tools, maintenance, and calibration from an A2LA (1522.01) certified lab. We’re experts in safety.
