Whip cables are an important component for moving power to a piece of machinery, computer system, or any connection that requires a high amount of electricity. Regardless of your industry, these cables ensure tools and machines have the power they need to function properly, improving power efficiency and potentially reducing operational costs in large-scale operations.
What is a whip cable?
According to Atcore, whip cables (or whips) are cables or conduits that are “pre-cut lengths of metallic or non-metallic that are pre-wired and are supplied with leads cut to the proper length for termination and supplied with the proper connector on each end.” In other words, they help power your tools (as long as they’re not cordless).
Why do whip cables need a proper connection?
These accessories need to be properly fitted to make a continuous, reliable, safe connection. If the connections are not made correctly, there is a potential for loss of power, which could impact productivity in your operations.
More importantly, misaligned or improper wiring connections can create a significant safety hazard, putting yourself and your employees at risk. Poor connections can be dangerous, potentially leading to electrical fires or shock.
Connecting electrical cables may seem simple. Whip cables, however, require more than a simple plug. To properly connect a whip cable to another line, you need to follow a precise process.
Steps for whip cable connection
When starting the process, you’ll notice that the strain reliever is covering almost the full connector guide. (The connector guide sits inside the strain reliever.) This connector guide can be separated from the strain reliever, which will start the connection process.
- First, take the strain reliever and slide it back, toward the main body of the cable. The strain reliever should slide away from the connector with relative ease. Pull the strain reliever away from the connector so there is enough space to grab the wiring directly with your full palm. Make sure there is enough space so the strain reliever or connector does not interfere.
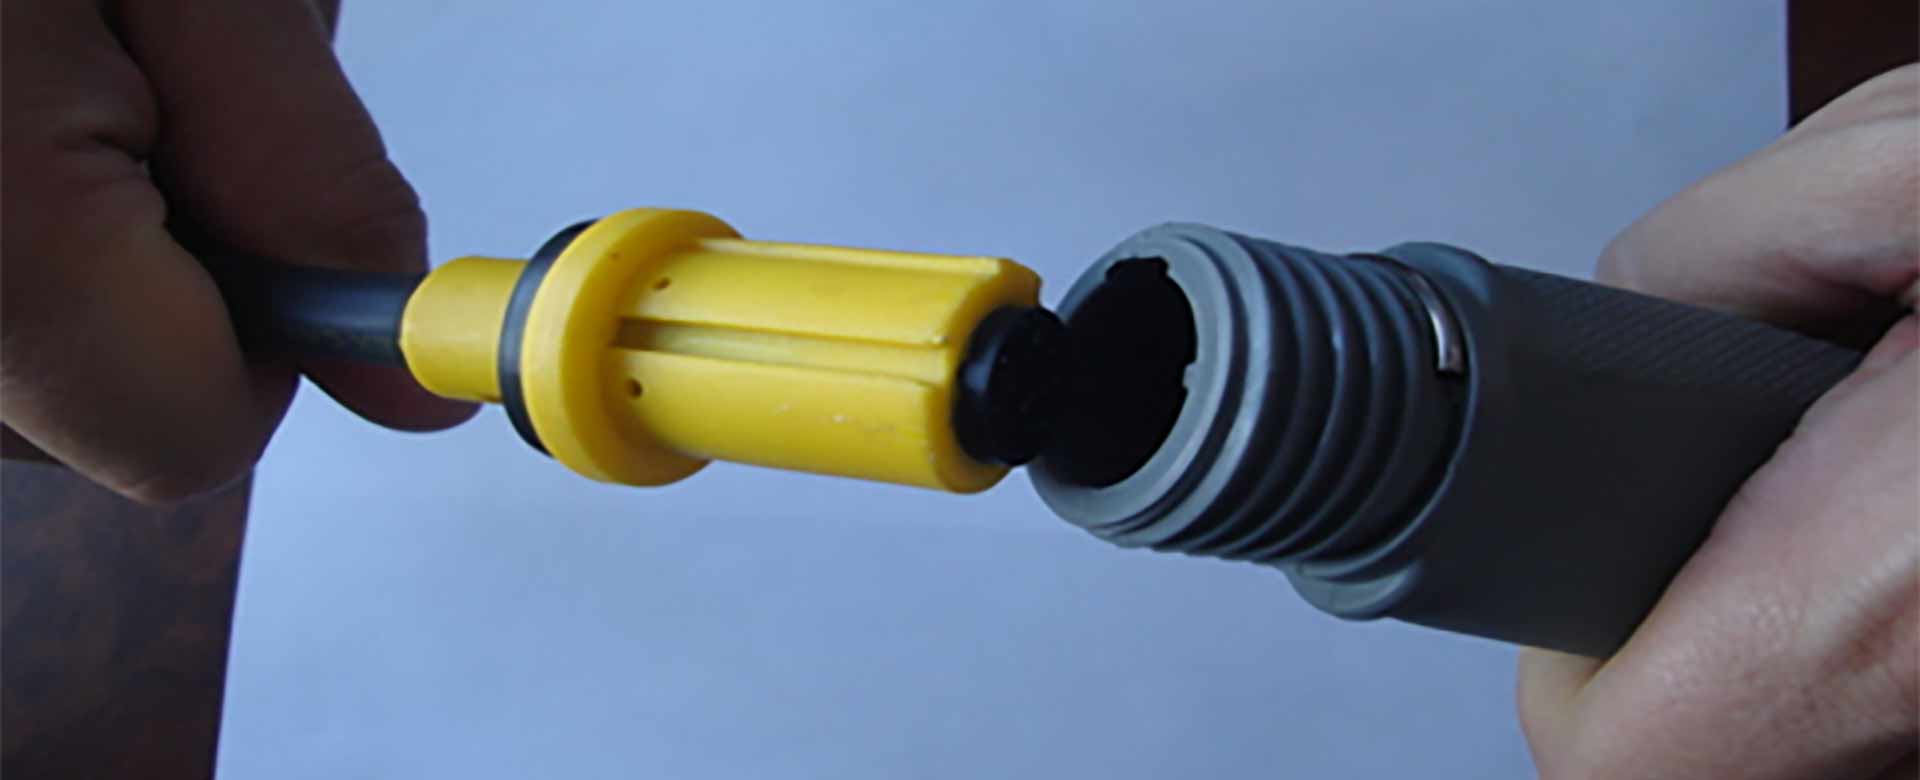
- Look at the cable connections to locate the guiding groves at the connecting point of the whip cable and the tool’s handle. There are two grooves of different sizes that need to be aligned. Each connection point has an inward and outward groove; the whip cable end has a thin inward groove and a wide outward groove; the connection piece will be opposite. Make sure the grooves are aligned, as the connections are keyed and will only fit in one specific manner.
- After the grooves are located, insert the connectors by aligning the grooves and pushing the two ends together. Remember to align broad to broad and narrow to narrow before adding pressure to connect the pieces.
- Insert the connectors with a firm push together. Before moving to the next step, ensure the connector is inserted all the way. The connector must be flush with the tool’s handle, with no gap between the two. If a gap remains, the points will not connect properly and the next step will not work.
- Slide the strain reliever back towards the tool connection and screw it into place. Ensure the piece is threading smoothly into the other unit; do not force the threading into place if you feel significant resistance; this could damage the threading and ruin the connection. The process for screwing the strain reliever into place should be easy and will not require significant force. If you discover that turning the piece is difficult, it is likely misaligned. Back it out, realign the threads, and try again.
- The system has a C-shaped securing ring, which is made of metal. If the C ring is showing, the strain reliever is not screwed down far enough. Continue turning the piece into the threading until the C ring disappears.
If you follow these steps, you can create a firm, secure connection for whip cables.
Contact us for assembly tools
For more information, or to find accessories and parts for your operations, contact our assembly tool division. They can provide products, services, and calibration to your entire tool line.

Tech notes: yield control summary

Beier high-performance replacement cables
